Content
| Table of Contents | ||||||
|---|---|---|---|---|---|---|
|
Access the Workspaces
Click on the building icon, you can add a new building
...
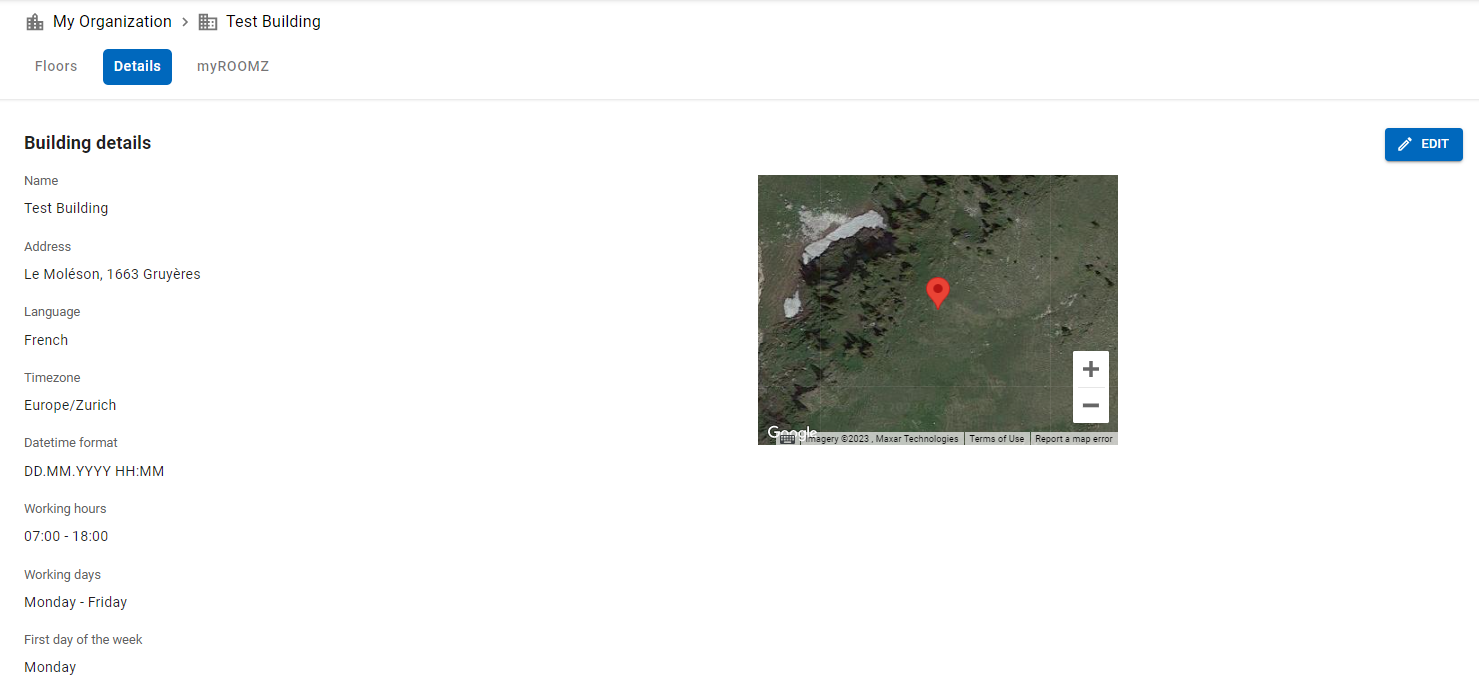
The Details tab allows you to change the settings of the building
...
Building settings
You can Edit the information regarding the building (name, address, timezone, language, opening days and hours)
The devices stop their updates when the building is closed, except if a meeting was defined in advance when the devices were communicating
Opening hours also have an influence on analytics. We compare bookings and effective usage to the specified opening hours
...
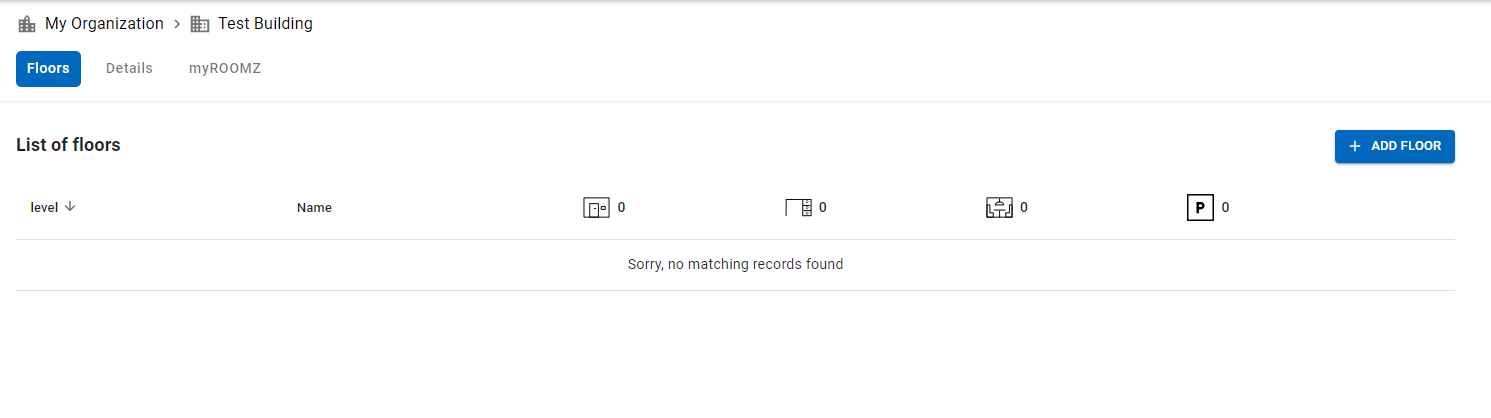
Floors
It's now time to create your floor(s)
Click on Add Floor
...
And click on the floor you’ve just created to access its settings
...
You can add Workspaces, edit the detail of the floor (level), and work on the floorplan.
...
Workspaces
You can define your Workspaces, create rooms, desks and huddle spaces according to your subscriptions.
But we recommend creating them directly from the Floorplan. More on that on this page.
...
If you wish to create your Workspaces without plan, click Add Workspaces.
You can choose the type of Workspace you would like to create
...
Once the Workspace is created, click on it
You can choose which resource (created in the Booking System and Resources connection) you would like to associate to the Workspace and which options should work for this Workspace
...
Link the devices
You can also associate the wished devices with the Workspace here :
...
The workspace is now ready, and the devices appear as connected
...
(here, you should check the battery ![]() )
)
...
In this step, we will create a building and the different possible spaces
To access it :
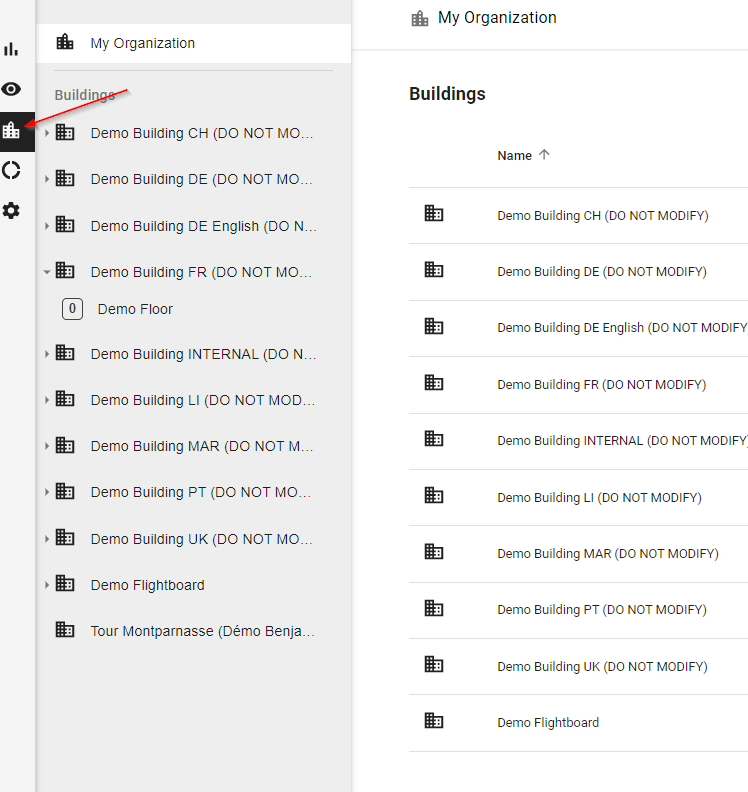
Let's create our first building, click on ![]()
You can enter the name of the building :
...
Once the building is created, you can click on it to access it :
The first thing to do is to click on the "Details" tab to view the different information related to this building :
| Info |
|---|
This information is important to fill in, the working hours as well as the working days will be linked to the Poling Interval and Analytics. |
Once the fields are filled in, we can click on the Floor tab to create our first floor :
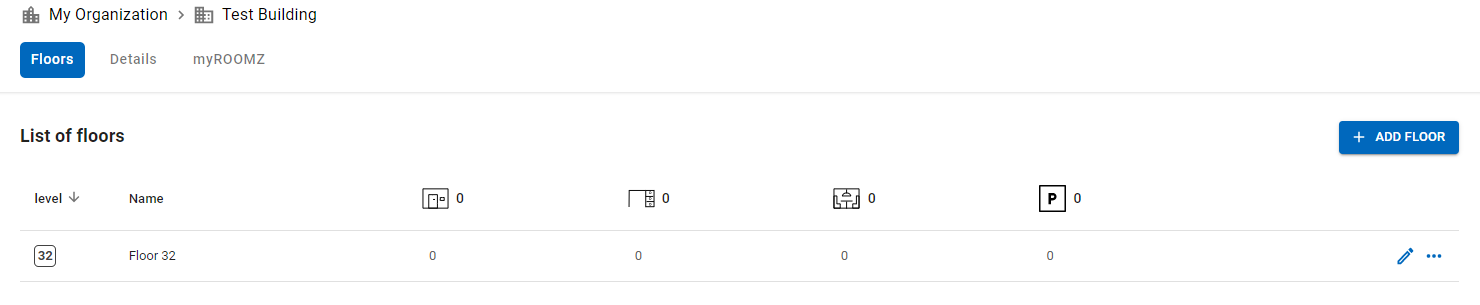
Then to access it, we click on the floor. In this part, we have access to the creation of the different possible spaces according to your subscriptions:
...
| Info |
|---|
Please click on the link below to access the relevant tutorial page. |