Content
| Table of Contents | ||||||
|---|---|---|---|---|---|---|
|
...
The first step consists of creating a ROOMZ application on Microsoft Azure in order to provide the access to the agendas.
a. Open Microsoft Azure Portal and log in with an administrator account.
b. Once logged, search for Microsoft Entra ID:
...
c. On the left panel, search for App registrations:
...
d. Click on + New registration:
...
e. Specify the name of the application (e.g. ROOMZGraph) and the first option Account in this organizational directory only
...
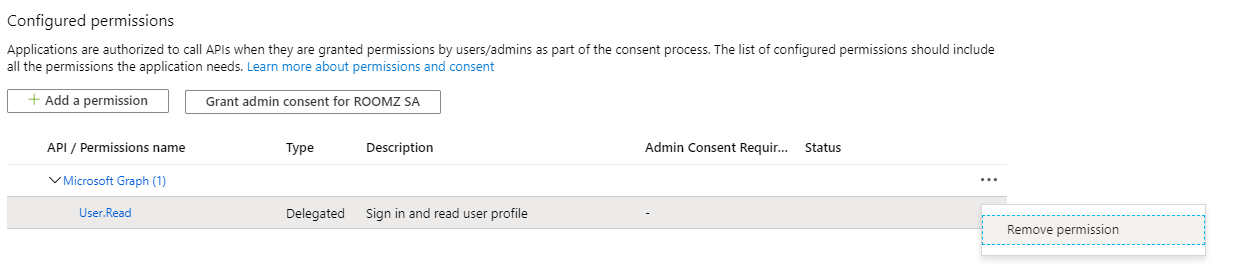
f. Click on API permissions:
...
g. Should you have already a permission, you can remove it:
h. Click on Certificates & secrets:
...
i. Click on + New client secret:
...
j. Define the wished expiry date. When the secret expires, you will have to renew it and adapt it in the ROOMZ Portal. Today, the longest possible period is 2 years (even when choosing the "Custom" option). We recommend defining the expiry to 24 months:
...
| Info |
|---|
In graphical mode, you are limited to a maximum of 2 years, as per Microsoft's recommendation. You can use the following command line to extend beyond 2 years (You need to modify the values in bold): New-AzureADApplicationPasswordCredential -ObjectId YourObjectID -CustomKeyIdentifier Roomz -Value $secret -StartDate (Get-Date) -EndDate (Get-Date).AddYears(5) |
k. Here you will find the Client Secret. This information will be required for the connector, you should copy it for example in your Notepad. It is important that you copy the Value of the client secret, and not the Secret ID
...
| Info |
|---|
Here is how you can renew the client secret: https://roomzio.atlassian.net/wiki/spaces/SUP/pages/429850625/Booking+System#How-to-renew-the-client-secret |
l. When clicking now on Overview, you will find the Application (client) ID and the Directory (tenant) ID. The 2 values will also be required for the connector, please copy them too
...
The following commands have to be executed using Exchange Online PowerShell with admin rights. Once executed, it might take up to 15 minutes before being effective.
a. Execute the following command and connect to your Microsoft365 using an admin account.
...
| Expand | ||||||||||
|---|---|---|---|---|---|---|---|---|---|---|
| ||||||||||
Install or start Exchange Online PowerShell Module. You can install the Module directly in the PowerShell on your Computer:
|

b. Enable organization customization, if it is already enabled you will get an error message.
| Code Block |
|---|
Enable-OrganizationCustomization |
c. Create a new management scope containing all the meeting rooms, replace “RoomzRessources” if you want a different name for the scope:
| Code Block |
|---|
New-ManagementScope -Name "RoomzResources" -RecipientRestrictionFilter {RecipientTypeDetails -eq "RoomMailbox"} |
d.1 Create a Service Principal for the API. Replace myAppID with Application (client) ID and myObjectID with the Object ID of the Enterprise application:
...
On the overview page of the app registration, click on “Managed application in…” to get to the Enterprise application.
...
d.2 Create the Service Principal
| Code Block |
|---|
New-ServicePrincipal -AppId myappId -ServiceId myObjectId -DisplayName "ROOMZ ServicePrincipal" |
e. Allow the API Application the access to the scope created above. Replace the myAppId with the Application (client) ID . Replace RoomzResources with the name of the scope you created.
| Code Block |
|---|
New-ManagementRoleAssignment -App myappId -Role "Application Calendars.ReadWrite" -CustomResourceScope "RoomzResources" |
f. The configuration of the Booking System is now done, please have a look to the next section. To be able to show meeting Title on the ROOMZ Displays.
...