Content
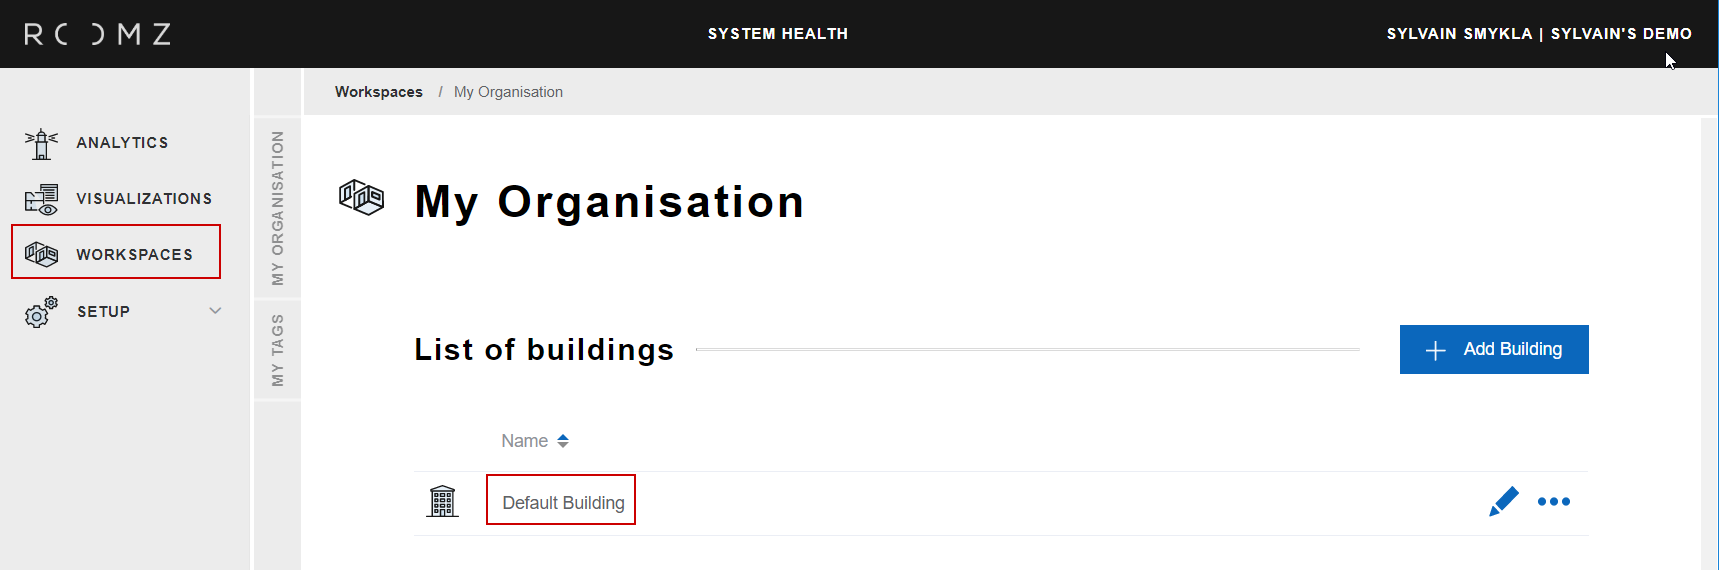
Access the Workspaces
A default Building is already created. You can edit this one and use it, or you can directly create other buildings with Add Building
Click on the building to change its properties (address, floors, workspaces etc.)
Edit its name with the Pen icon, or Delete it with the contextual icon
Building settings
You can Edit the information regarding the building (name, address, timezone, language, opening days and hours)
The devices stop their updates when the building is closed, except if a meeting was defined in advance when the devices were communicating
Opening hours also have an influence on analytics. We compare bookings and effective usage to the specified opening hours
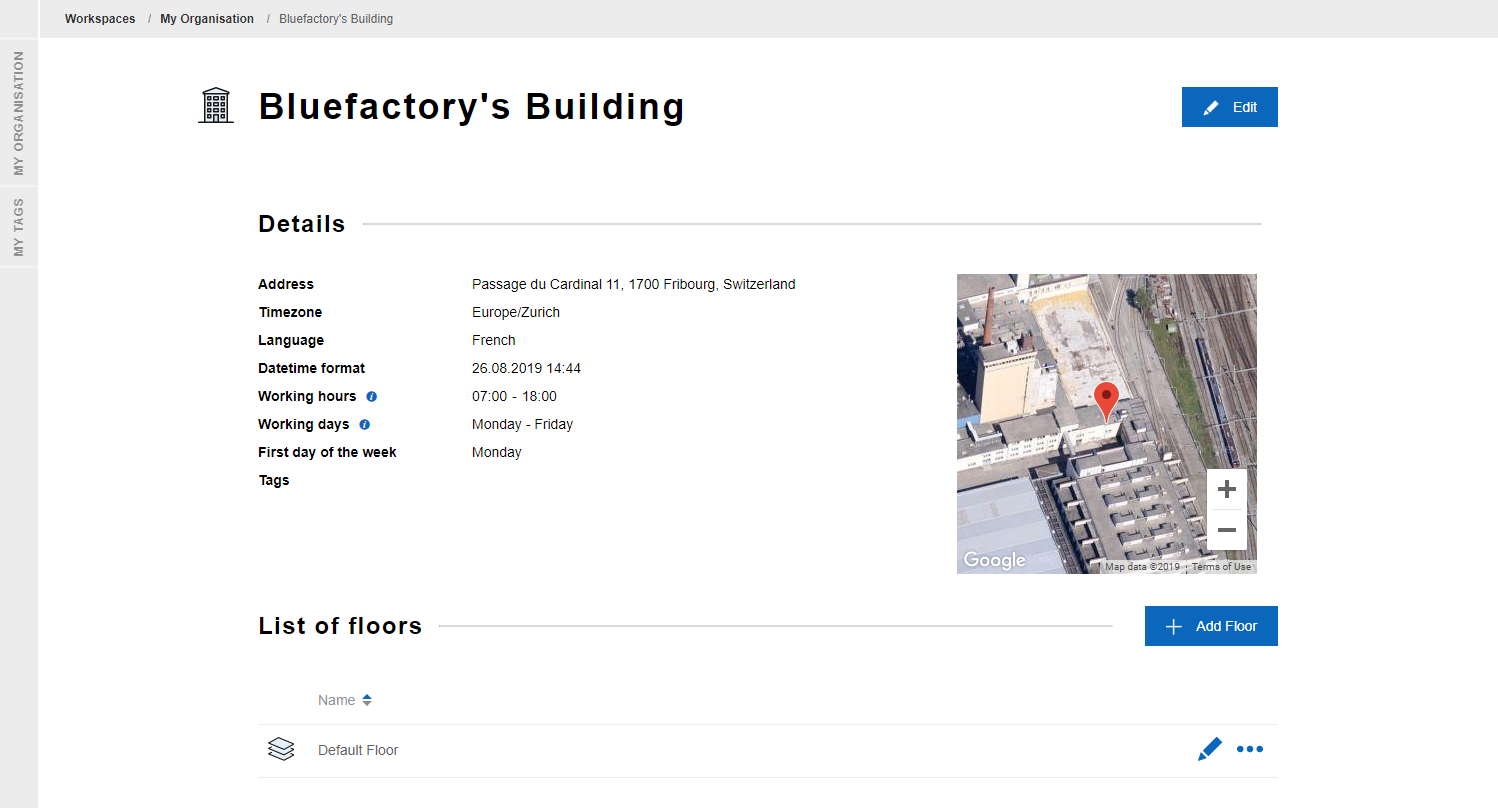
Floors
It's now time to create your floor(s)
A default floor is already created. You can edit this one and use it, or you can directly create other floors with Add Floor

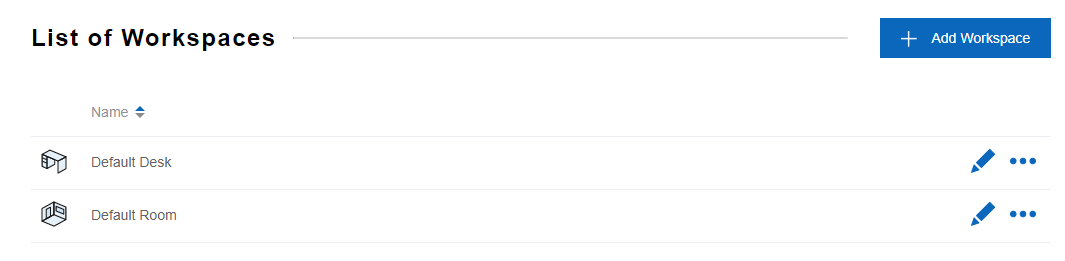
Workspaces
You can then define your Workspaces. A Default Desk and a Default Room are already created. You can edit them and use them, and directly create other ones
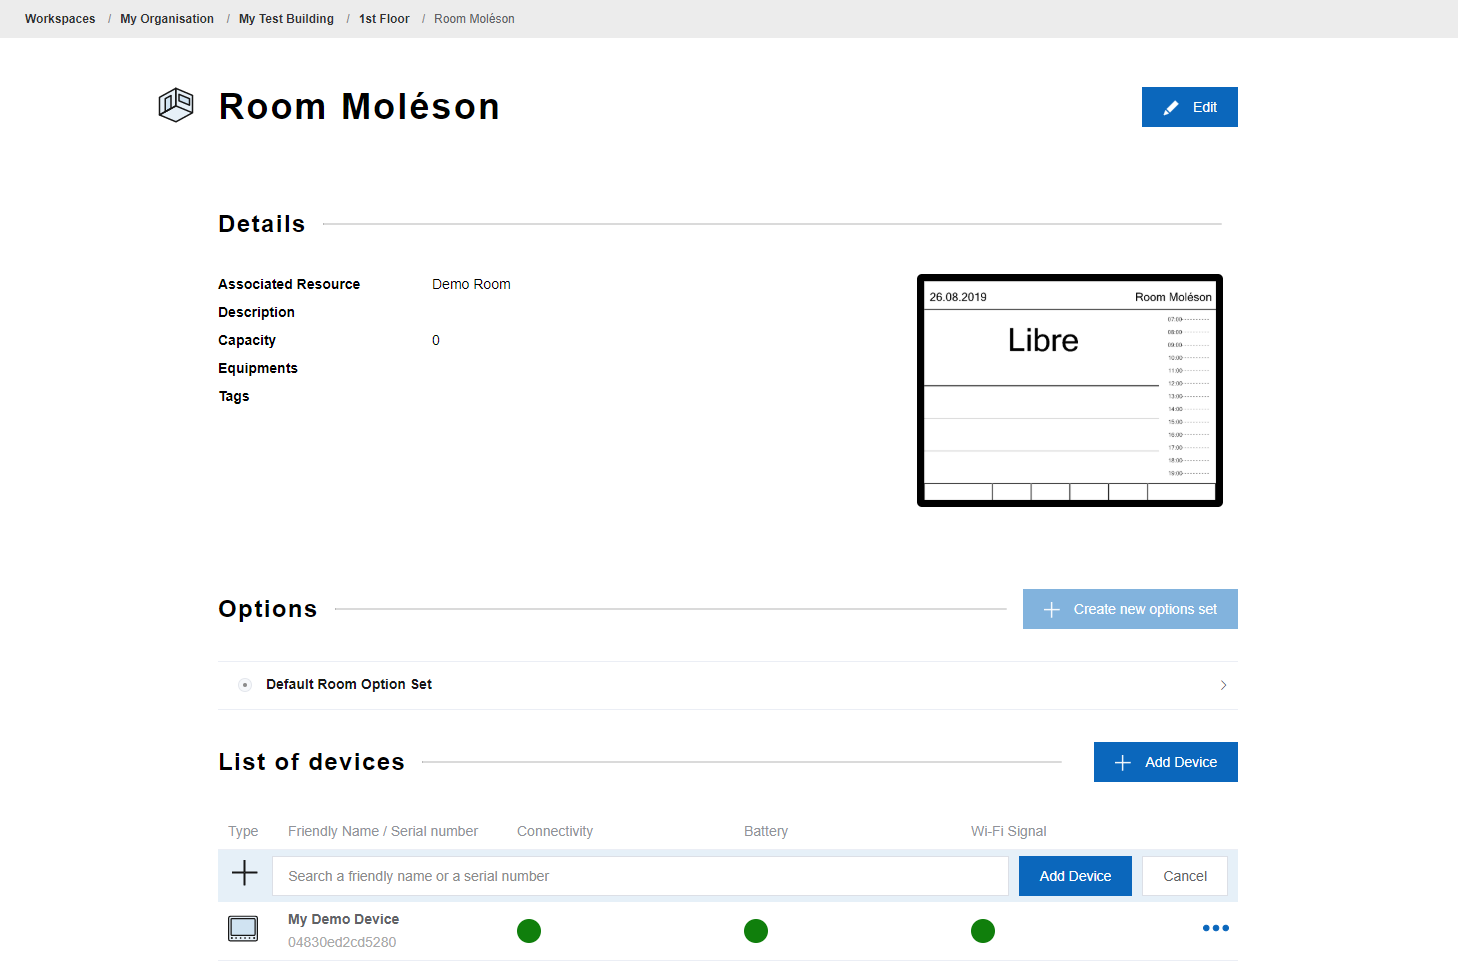
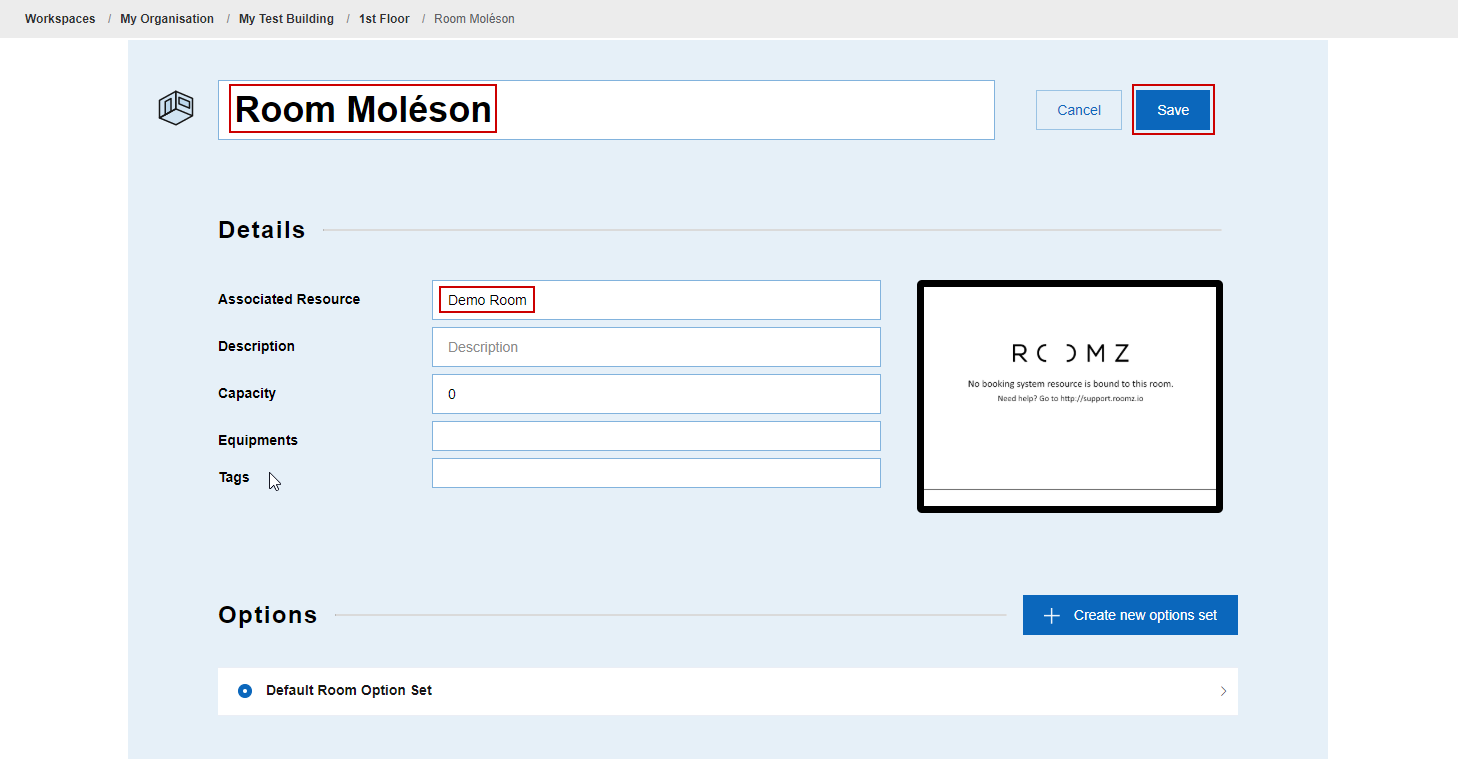
Entering for example in the Default Room, press Edit
Name the Workspace (here "Room Moléson"), associate the wished resource of your Booking System (here Demo Room, created in the Booking System and Resources connection), and click Save
Link the devices
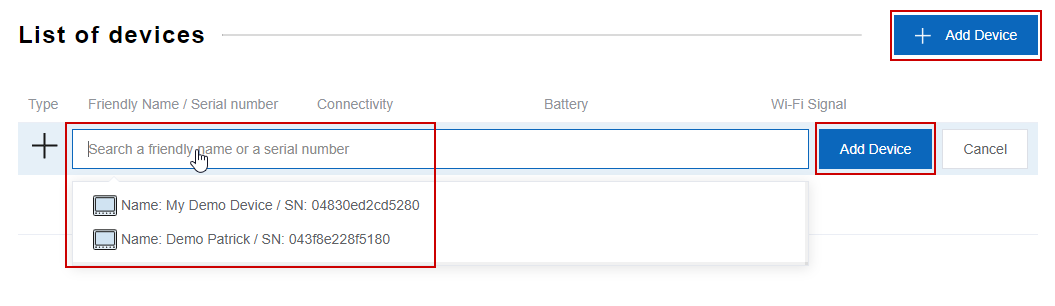
Finally, link the device(s) to the workspace
Click on Add Device (at the top), select the wished device(s) you would like to allocate to this Workspace, and click on Add Device (at the bottom)
The workspace is now ready, and the devices appear as connected
You can click View - Refresh on the Display, it will display the current status of the room