Content
Introduction
Microsoft announced that Exchange Online (Office 365) - EWS will not be available anymore starting October 13th, 2020.
The Microsoft's recommendation is now to use Microsoft Graph. For Exchange On-Premise, EWS will stay the solution to use.
This documentation describes the steps required in order get ROOMZ access to the agenda of the meeting rooms using Microsoft Graph.
Register the ROOMZ Application
The first step consists of creating a ROOMZ application on Microsoft Azure in order to provide the access to the agendas.
Open Microsoft Azure Portal and log in with an administrator account.
Once logged, search for Azure Active Directory:
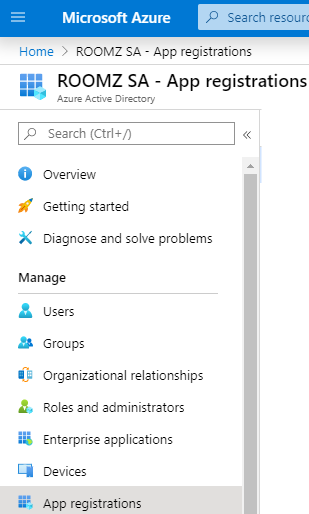
On the left panel, search for App registrations:
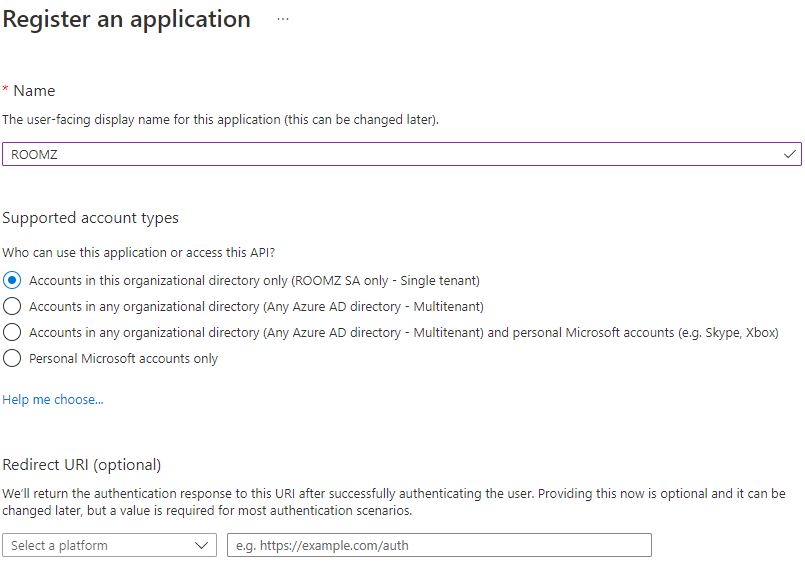
Click on + New registration:
Specify the name of the application (e.g. ROOMZGraph) and the first option Account in this organizational directory only
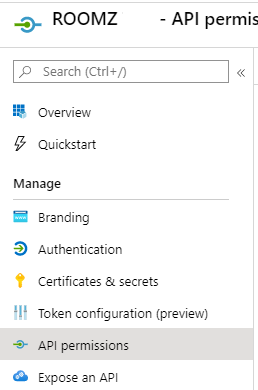
Click on API permissions:
Should you have already a permission, you can remove it:
Then click on + Add a permission, and select Microsoft Graph:
Chose Application permissions:
In the list of permissions, select Calendars.ReadWrite: and then click Add permissions:
Click on Grant admin consent for your company:
Once accepted, it should look like the following:
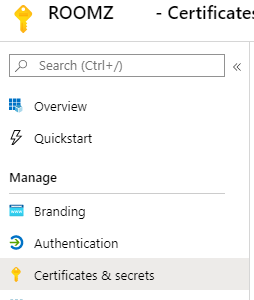
Click on Certificates & secrets:
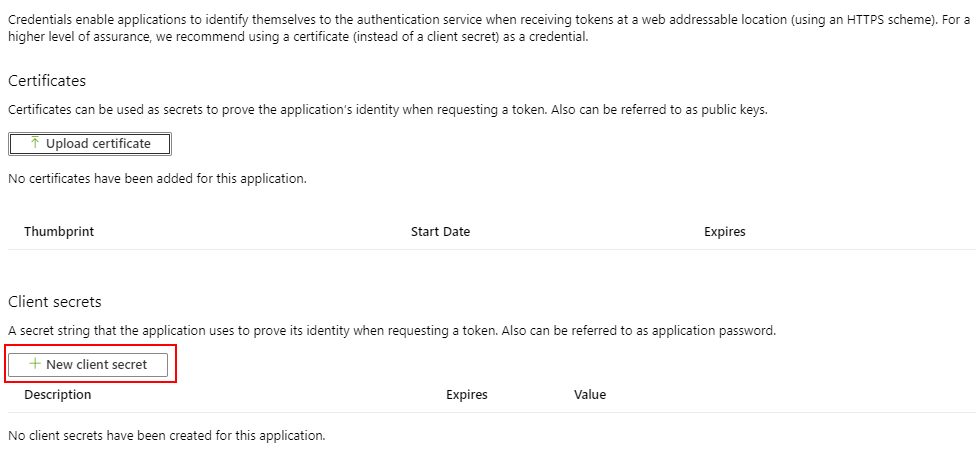
Click on + New client secret:
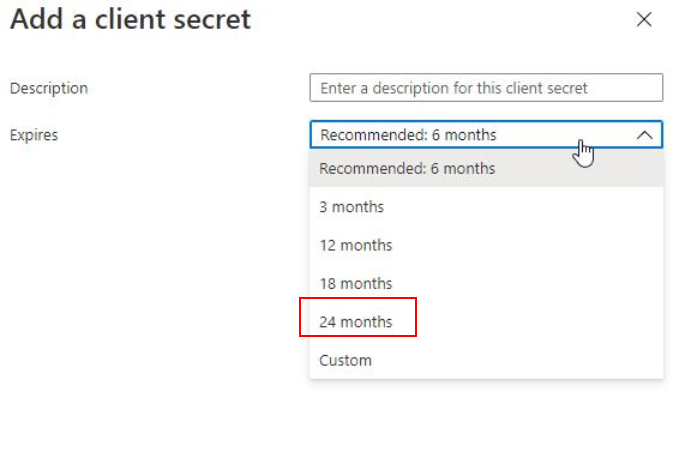
Define the wished expiry date. When the secret expires, you will have to renew it and adapt it in the ROOMZ Portal. Today, the longest possible period is 2 years (even when choosing the "Custom" option). We recommend defining the expiry to 24 months:
Here you will find the Client Secret. This information will be required for the connector, you should copy it for example in your Notepad. It is important that you copy the Value of the client secret, and not the Secret ID
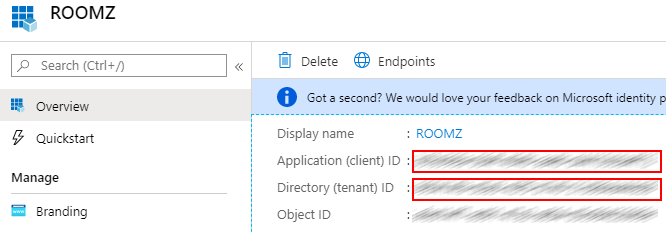
When clicking now on Overview, you will find the Application (client) ID and the Directory (tenant) ID. The 2 values will also be required for the connector, please copy them too
The registration of the ROOMZ application is done.
Limit access to meeting rooms only
With the previous configuration, the application is allowed to access the agenda of all resources and users of the organization.
ROOMZ only requires to have access to the agenda of the meeting rooms. For this reason, we recommend to execute the following PowerShell commands in order to restrict the access.
Hint: the following connection with the Exchange Admin Center must be executed using Edge or Internet Explorer
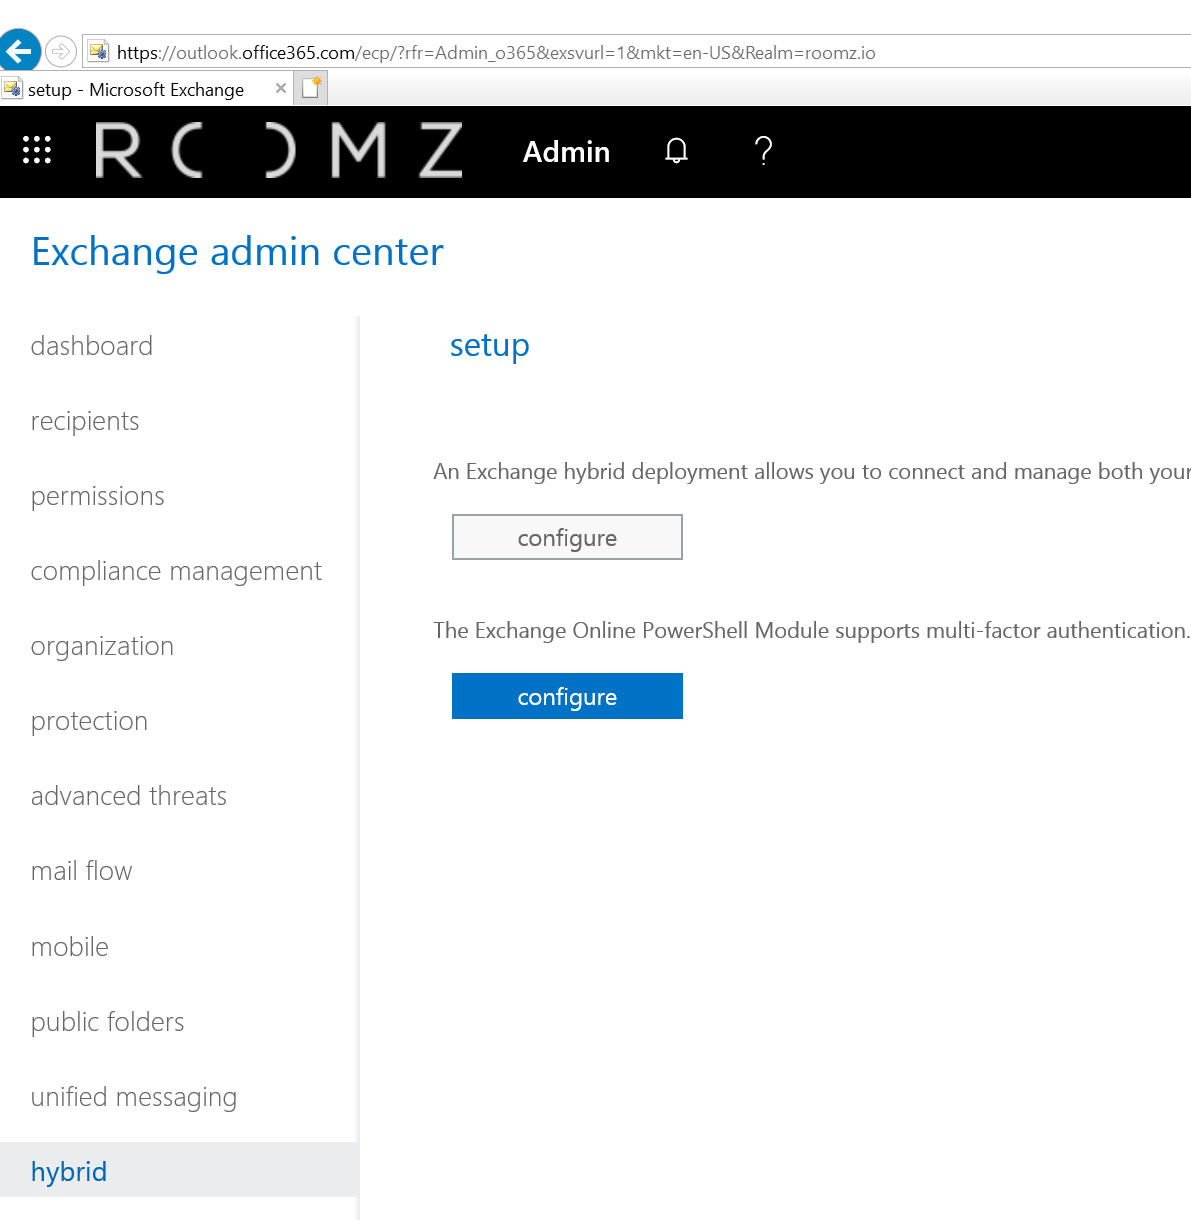
Install or start Exchange Online PowerShell Module. You can download it from the Exchange admin Center.
Once logged in, scroll down to Hybrid.
(Should you have any issue when downloading this file with Google Chrome, please try with Edge).Execute the following command and connect to your Office365 using an admin account.
Connect-EXOPSSession
Create a Mail-enabled security group with the following command. Here the name of the group is RoomzResources. You have to replace the PrimarySmtpAddress with a valid domain name.
New-DistributionGroup -Name RoomzResources -Alias RoomzResources -PrimarySmtpAddress RoomzResources@myorganization.com -Type security
Fill this group with all room mailboxes. Don't forget to change the name of RoomzResources should you have used another name:
Get-Mailbox| where {$_.RecipientTypeDetails -eq "RoomMailbox"} | foreach {Add-DistributionGroupMember -Identity RoomzResources -Member $_.UserPrincipalName}Apply an application access policy with the following command. Replace the myAppId with the Application (client) ID from the previous section. Replace RoomzResources with the name of the group you created.
New-ApplicationAccessPolicy -AppId myAppId -PolicyScopeGroupId RoomzResources -AccessRight RestrictAccess -Description "Restricted ROOMZ Access"
In order to reduce the propagation time required by Microsoft Azure, this command can accelerate the process:
Update-DistributionGroupMember RoomzResources
Thanks to this, the application is now restricted to access only the agenda of the group RoomzResources, containing only meeting rooms. Should you create new meeting rooms, please re-execute the command on point 4.
Meeting Title & Private Flag
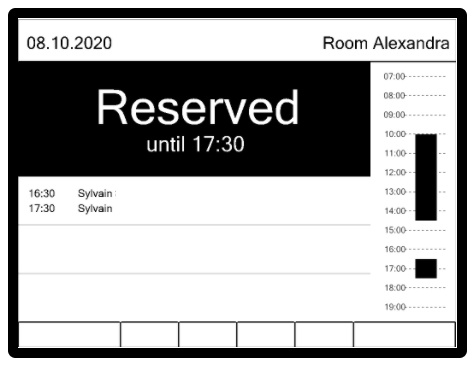
By default, when a user is sending an invitation for reserving a meeting room, Exchange will only store the name of the organizer in the agenda of the meeting room. The meeting's title and the private flag are not stored.
This is the result you will get on a ROOMZ Display, if no setup is changed:
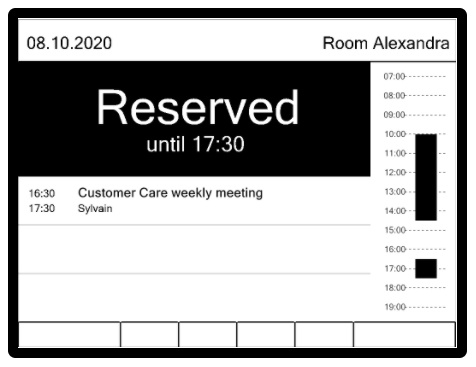
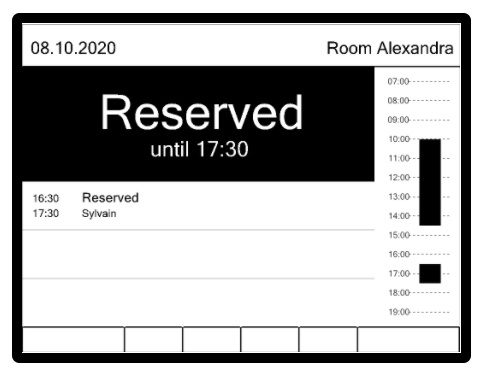
If you want to show the meeting title, the following PowerShell command has to be executed for each room. When the meeting is considered as 'private', the title of the meeting will be replaced by 'Reserved' on the ROOMZ Display.
NOTE : Once executed, this command will only be effective for the new meetings. When new meeting rooms are created, this command has to be executed again.
Get-Mailbox| where {$_.RecipientTypeDetails -eq "RoomMailbox"} | Set-CalendarProcessing -AddOrganizerToSubject $false -DeleteSubject $false -RemovePrivateProperty $false
|
The title of the future meetings will then be correctly shown on the device:
When a meeting is private, the display will show the information as follows:

